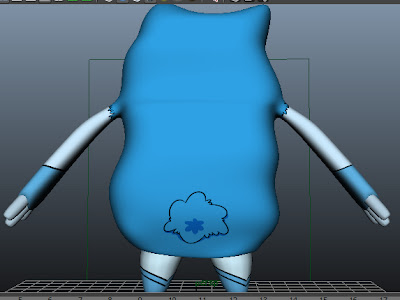
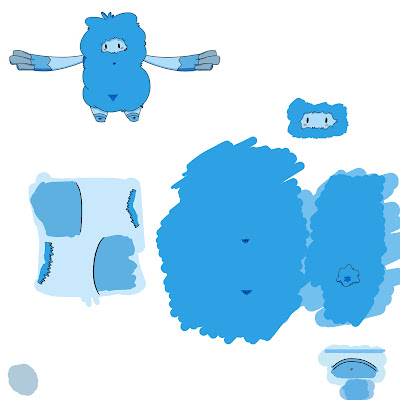
At first UV mapping was everything I thought it would be, confusing, stressful and time consuming. However with a bit of help and guidance I began to take the hang of how to unwrap and plainar map my characters geometry in order to paint on it and I soon found it to be a quite therapeutic way to spend my time working.
Above shows my process of making the UV map to get my character looking bright and bold. The bottom two images show my IN and OUT files that I refined with and without the geometry grid. The first first mapping image I made sure to label every piece of netting so that I knew what to paint in what colour. I then refined this in the very bottom image to add on bits such as the tail, fur, face and boots.
Despite being quite scared about starting the UV mapping process I've actually learned a lot of the experience and enjoyed this part of making my character the most so far.


No comments:
Post a Comment